Screaming Happy Birthday In A Most Delicious and Elegant Way
Pistachio Cake with Vanilla Buttercream Icing
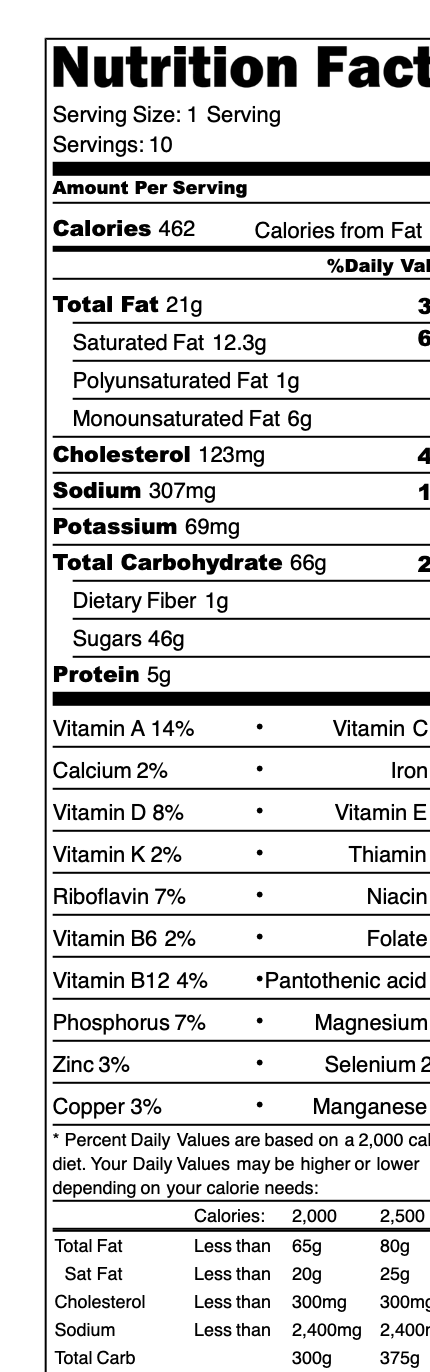
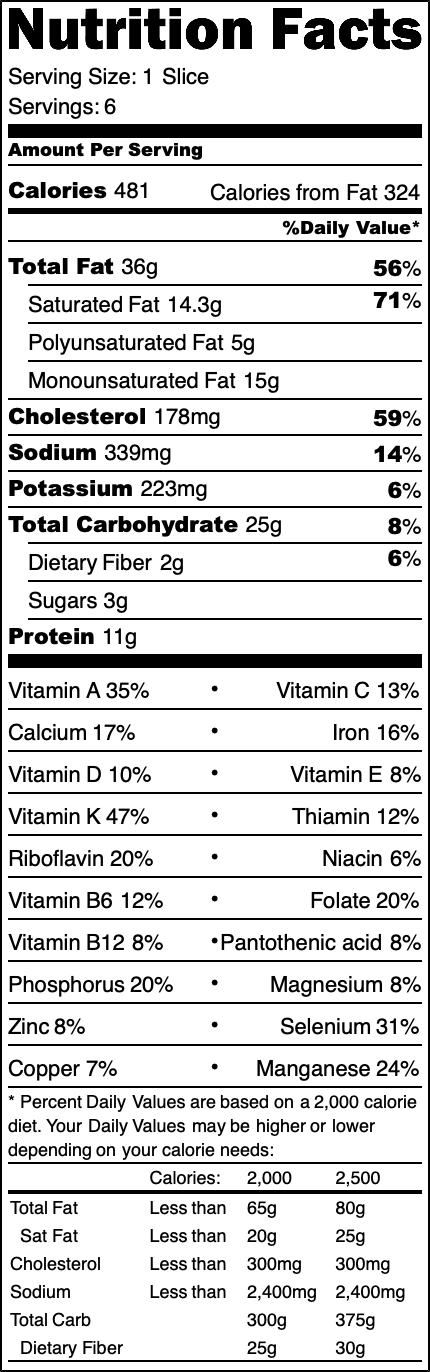
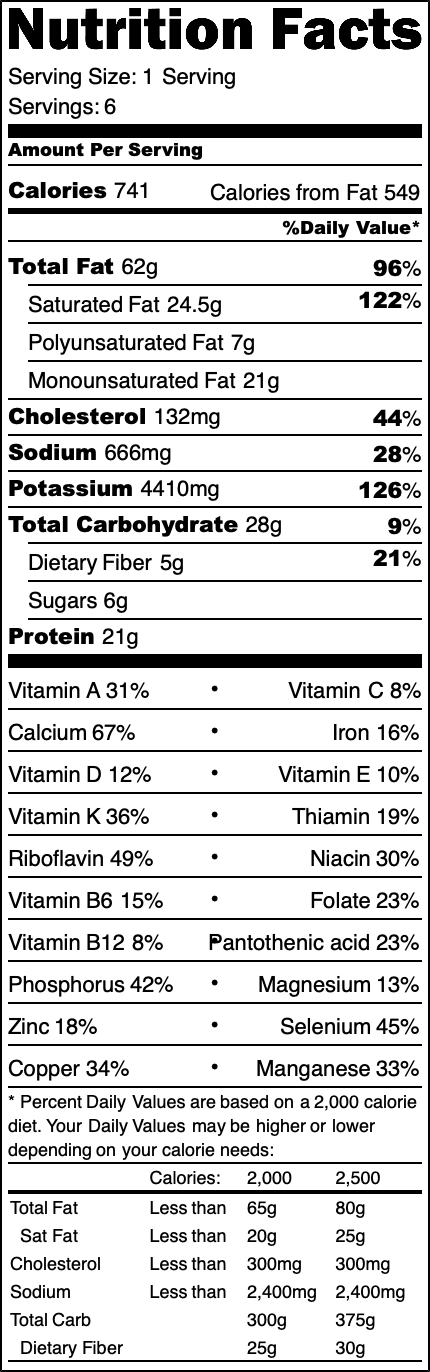
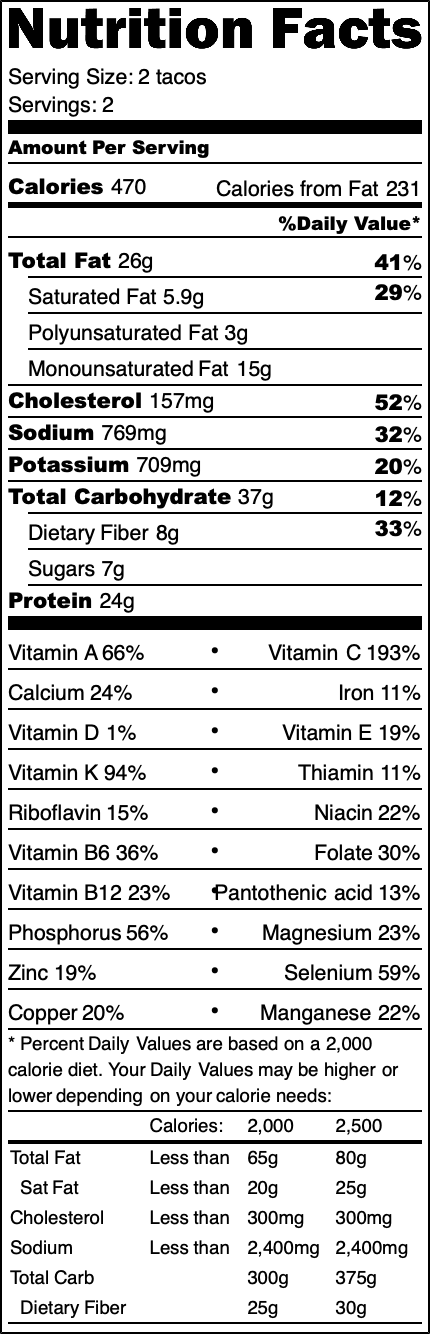
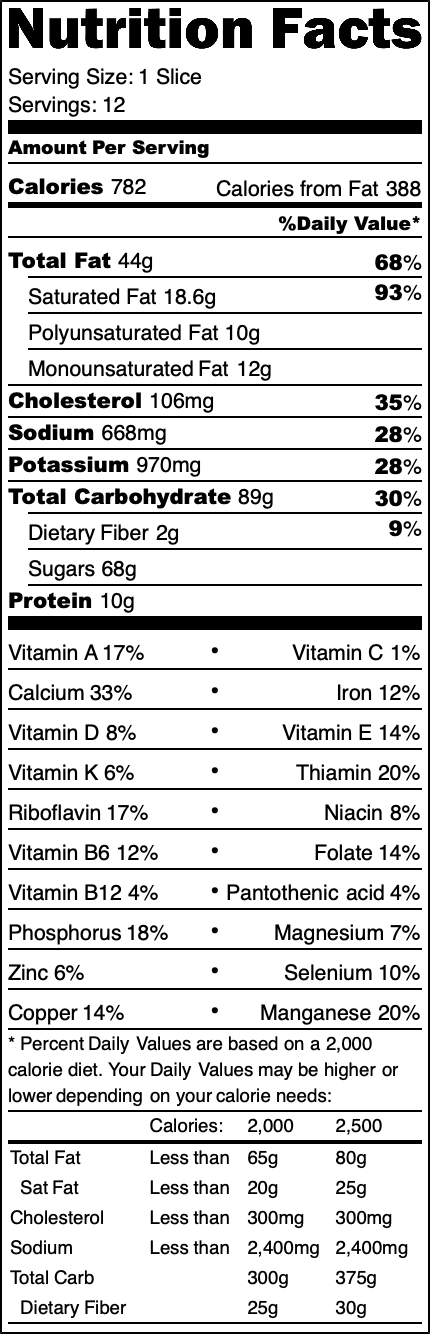
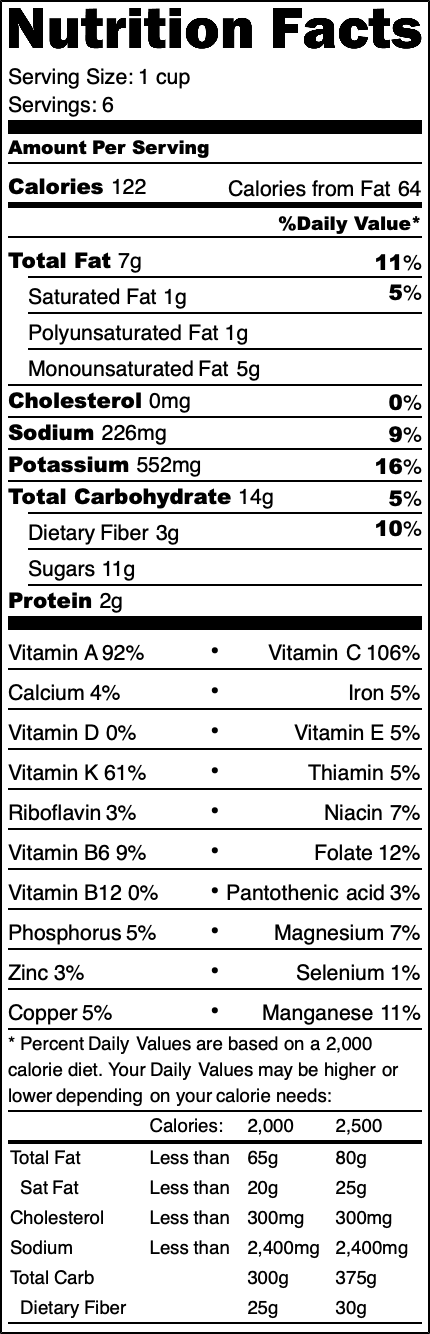
A cake that celebration dreams are made of, and since it is so richly decadent, it serves a small gathering of 6 with an additional piece to take home for breakfast the following morning. My kind of dessert!Recipe adapted from one by the wonderful women at Broma Bakery.
Ingredients
For the cake:
- 1 1/2 cups dry roasted unsalted pistachios
- 2 cups all purpose flour
- 1 teaspoon salt
- 1/2 teaspoon baking soda
- 3 teaspoons baking powder
- 4 tablespoons vegetable oil
- 1/2 cup unsalted butter room temperature
- 1 1/2 cups granulated sugar
- 2 eggs
- 2 egg whites
- 2 teaspoons vanilla extract
- 1/2 teaspoon almond extract
- 3/4 cups sour cream not light or fat free
- 3/4 cups whole milk
For the icing:
- 6 ounces cream cheese room temperature not light or reduced calorie
- 3/4 cup salted butter softened
- 1/2 teaspoon salt
- 2 teaspoons vanilla
- 2 teaspoons maple syrup
- 4 cups powdered sugar
For the decorations:
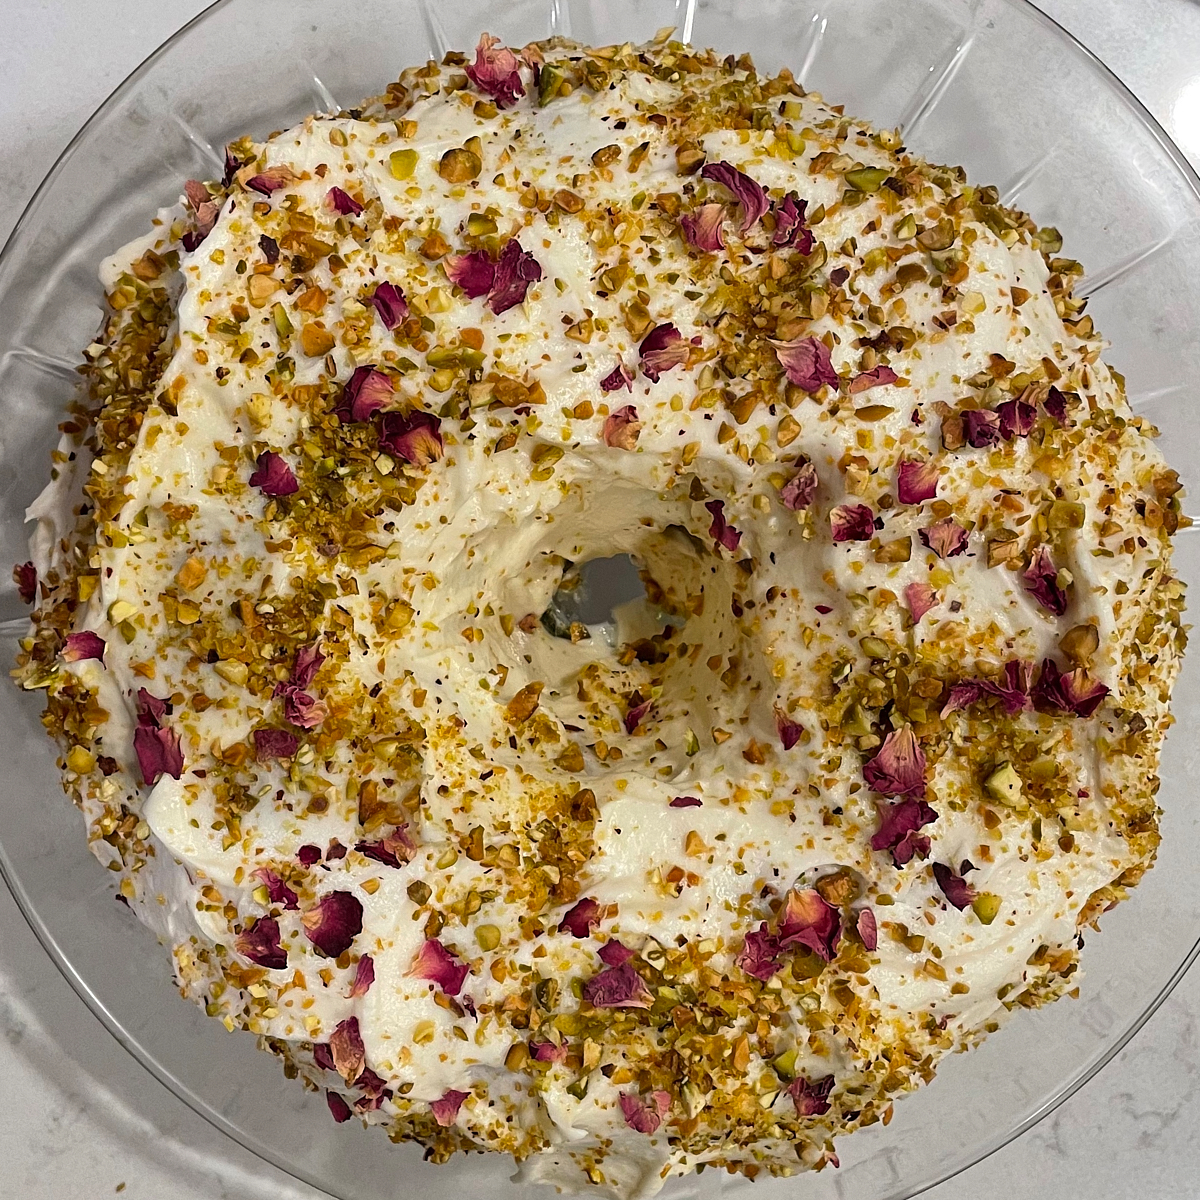
- 1/4 cup salted pistachios chopped, some finely, some course
- dried rose petals
- Sicilian Pistachio Spread with Extra Virgin Olive Oil optional, I like Pistacchiosa
Instructions
- Grease and flour a bundt pan. Set aside.
- Preheat the oven to 350 F.
- Pour pistachios into a food processor and pulse into fine crumbs. They don't need to be powder, but the pieces should be very small.
- In a medium bowl, whisk together the pistachios, flour, salt, baking soda, and baking powder until thoroughly combined. Set aside.
- In a stand mixer with the whisk attachment, combine the oil and butter until smooth. Add the sugar and beat until light, fluffy and pale in color. Add the eggs, egg whites, vanilla and almond extracts, and beat again until light, fluffy and pale.
- Add the sour cream and milk and mix until just combined. Don't over mix.
- Remove the bowl from the mixer stand, and fold the dry ingredients into the wet ingredients with a spatula until everything is fully combined and you have a smooth batter. There should be no streaks of dry ingredients remaining.
- Pour the batter into the prepared bundt pan. Place on the center rack of your preheated oven until baked to a lovely golden brown, about 40 to 50 minutes depending on your oven. Test with a toothpick by inserting it into a couple different places on the top of your cake, and if it comes out clean with no moist batter sticking to it, it's done. Remove the pan onto a cooling rack until the cake is cooled completely.
- Tip for getting the cake out of the pan in one piece: After the cake has been out of the oven for about 15 minutes, line a large bowl with a kitchen towel you've soaked with hot tap water and rung out a bit, stretching it out across the bottom and up the sides of the bowl. Place the hot bundt cake pan into the towel lined bowl and tuck the edges of the towel neatly around the edges of the pan, so the entire pan is surrounded by hot towel. After 15 minutes, remove the pan from the bowl and invert it onto a cooling rack. Tap the top of the pan a few times with your fingertips, and easily lift off the pan from the cake. This works for me every single time. It comes out completely smooth with no sticking at all. If on the odd chance it doesn't work for you, you're going to be frosting it anyway, so you'll just piece it back together with icing. Allow it to cool completely before frosting or the icing will melt.
- If you are planning on serving your cake the same day as you're making it, while the cake is cooling, make your icing with the steps in the next section below. If you are not serving it the day you make it, see the Note 2 sections down.
- In a stand mixer with the paddle attachment, cream the butter and cream cheese together for about 2 minutes until light and fluffy. Add the vanilla, salt, maple syrup, and powdered sugar, and beat for another minute until smooth. Set aside on the counter unless it is really warm or hot inside, then stick it in the fridge until you're ready for it.
- Note: I like to make this cake a few days before I am planning on serving it, so when it is cooled completely, wrap it snugly with plastic wrap and then completely with aluminum foil over that. Stick it in the freezer, then the night before you need it, let it defrost in the refrigerator. When you get up the next day, remove it from the refrigerator and check to make sure it is thoroughly defrosted. Now you can make your icing with the step above.
- Prepare a cake stand with a piece of parchment paper that hangs over the edge. Slice the cake neatly horizontally in half. Place the bottom half of the cake onto the parchment on top of the center of the cake stand. Cover the bottom layer with a thin layer of pistachio spread if you are using it, then top with a thin layer of buttercream. Of course the buttercream tastes wonderful all on its' own, but if you want even a little more divine decadence, the pistachio spread is just next level. Place the top of the cake onto the bottom and make sure the edges match up and it's level. Then frost the inside of the tube opening, the sides, and the top, until it looks pretty. Sprinkle the sides and top with chopped nuts and rose petals, or if you like, splatter the top and sides of the buttercream with pistachio spread. Note: Nutritional Info does not reflect the optional pistachio spread.Now carefully, and perhaps with a little help from a friend, lift the cake up with two large spatulas opposite one another, off of the parchment, pull the parchment away from the cake stand without spilling any nuts over the stand, and gently place the cake down. Now you have a clean stand surrounding your cake.
- Serve with vanilla ice cream, pistachio ice cream, or another flavor of your choice.


Our new favorite cake !
Yayy! I’m so happy you like it!
This is now my favorite cake in the whole world. Thanks for treating me like a queen for my birthday!
It was our pleasure and so fun to celebrate with you!!
The looks amazing. Someone needs to hurry up and have a birthday!
hahaha…well, it’s somebody out there somewhere’s birthday – we could always pretend! Thanks for visiting Teri!